by James Williams
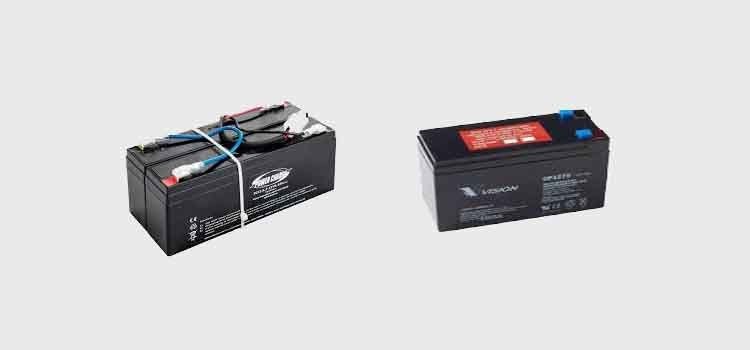
In most cases, gate opener batteries are similar to car batteries. These batteries’ life span depends on its usage. In some cases, people come and find their gates half-opened because their battery ran out of power. It is good to know how long the gate opener battery will last for it to before replacement.
Some factors affect the lifespan of the cell—for example, factors like lack of proper maintenance, weather, and the recharge voltage. A gate opener battery when damaged or when they’re low battery, they need to be replaced following some process.
When replacing a gate opener system with a flat battery, there are some steps you need to follow to make sure they are well replaced.

Technically, once you slide off the cover of the system control box, the battery light is flashy, indicating that it has low battery condition unlike when it’s full, and the light is not flashy. The system covers the control box for safety measures to avoid it being tampered with by persons or other unfavorable conditions.
This is where the point where the open and close controls will position. Therefore when the control system is damaged, the gates will not open and close, whether the batteries are low or fully charged.
Turning off the system will prevent accidents like electric shocks or short circuits, causing damage to the gate opener system. This will cost you so much since you will have to replace the whole system, including the batteries.
In many cases, when working on an electric system, it is always turned off. In your case, turn off the system using the button placed on the bottom.
When the system is off, remove the battery box cover by sliding it off and take your first low battery. Remove the negative terminal first, which is the one which is black. This is because the connection is grounded, and it is the only possible advantage of disconnecting the positive terminal.
Remove the positive terminal, which is indicated by the red color. The positive terminal is removed at last because if withdrawn before the negative terminal and it makes contact with any part of the system, it will cause a short in the system and destroy the entire panel.
After you remove the low battery, grab the new replacement battery, such as the mighty mule. In this case, the positive terminal is installed into the new battery first, followed by the negative terminal. It is because if you fit the negative terminal into the new battery first, you can wretch, and the positive terminal comes into contact with a part in the system.
It completes the circuit; hence a short can occur damaging the whole system. To avoid the damages, install the positive terminal first. Though some people tend to ignore this, it is crucial while replacing a battery for your safety and the safety of the control system.
When you complete installing the terminals into the new battery, fit the battery into the battery box, and slide the battery box cover in. Covering the battery box is always for security measures to avoid damages from people or weather, hence helping in maintaining it.
For example, when the battery box is not covered, a person can tamper with it or destroy it, or when it is rainy, the batteries get wet, and it can bring about corrosion or electric shots.
After the battery connection, turn on the system and check the battery condition light. The light is now stable, indicating a full battery, unlike when the battery was low, the battery light was flashy. The system will work very well and faster since the power is high.
If you own more than one system, repeat the process using these steps on each of the arrangements. The gate opener battery replacement is a simple process in which you can easily do it yourself instead of calling a repair person from the company to do it for you and pay them.In conclusion, when replacing the gate opener batteries, always make sure the system is off for safety measures. It is the easiest way of replacing a battery and very cheap. Use a battery from a good brand like the 12V Mighty Mule. With the help of the above steps, replace your batteries in your household gates.
Since a gate opener battery is like the car battery, with the knowledge of replacing these opener gate batteries, you will be in a position to easily replace the battery in your car as well.
About James Williams
Hi, This is James from HomerDIY. I have great experience in writing about everything related to Pump and DIY tools. For the last few years, I am researching the different types of tools and sharing my opinion on this blog.
 |
 |
 |
 |
Popular Posts