by Kimberly Hill
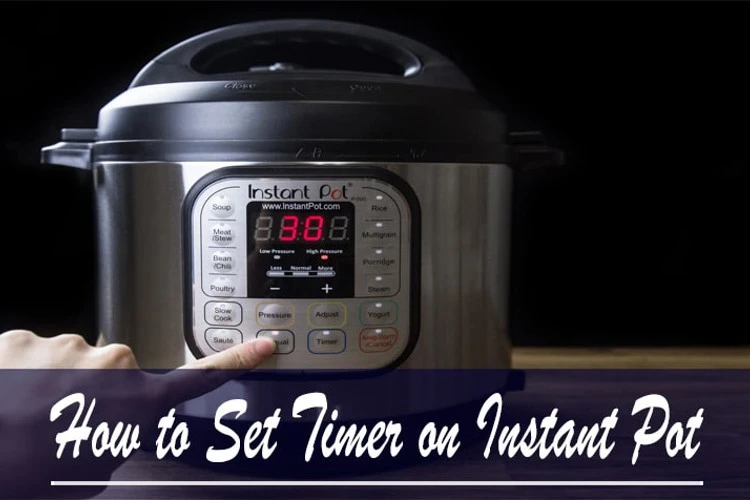
If you are also new and confused about using it, I will tell you all the things you need to know about how to set timer on instant pot.
This cooking device is becoming more and more popular by the day. Hopefully, my guide will allow you to have more control over the cooking time so that you can enjoy scrumptiously delicious dishes with your family.
Contents
Purchasing and unboxing the instant pot is only one part of the job. As soon as you unbox the instant pot, you will notice tons of buttons and knobs on the front part of the pot. At first, you will think what is up with so many buttons! I know, right? The good news is not all of them are important for us.

You can ignore the rest of the buttons or even cover them up with masking tape at the start so that you can get used to the necessary knobs.
Here is an excellent trick that will help you get familiarized with the instant pot’s timer mechanisms. The first time you cook in the post, instead of making food, make water! That way, you will not have to worry about ruining dinner. The steps to set up an instant pot’s timer effortlessly –
Make sure that the gasket is in place correctly. Most of the time, you will notice that the gasket’s misplacement causes the instant pot not to come to pressure. Therefore, the first step before doing anything else is to make sure that the gasket is in the correct place.
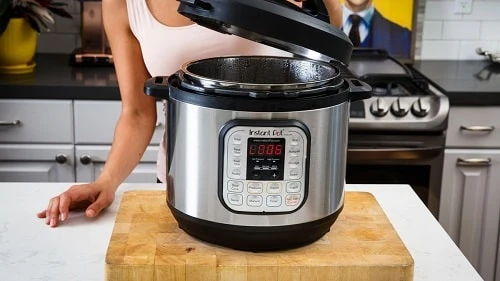
Now that you have settled the gasket issue, put three cups of water inside your pot. When you create other dishes, always try to measure and maintain the proper level of liquid amount.
That will allow your foods to become tender and have the perfect cook. Moreover, you do not have to fuss over the measuring part because the insert will come with markings that you can use to measure the liquid amount.
After you have measured the liquid amount to your liking and put it in the insert, go ahead and close the lid. The lid comes with arrows that will guide you into moving it in the necessary direction to lock it.
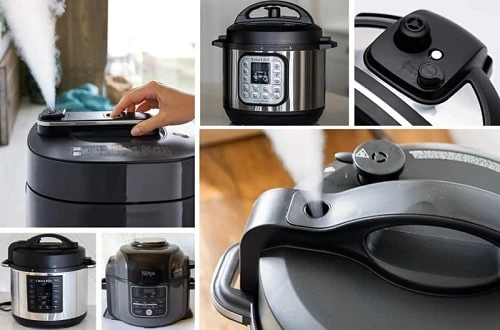
To make sure that your cooker comes to pressure appropriately, you will have to check the valve and put it in the “sealing” position. If somehow the valve is in the “venting” position, the pot will not come to pressure.
For this device, you will have to press the “Pressure Cook” button that will start the cooking process.
on the other hand, if you have this device, you will have to press or select the “manual” button.
Almost all instant pots come with an initial default program of 30 minutes cook time of high pressure.
If you do not change the time and press either the manual or the pressure cook options, it will immediately begin pressure cooking your food material, maintaining that default time. Therefore, the display will show 30 minutes.
Depending on the recipe, you can toggle the buttons to change the cooking time.
Thirty minutes will be enough for our water test, so you do not have to change that.
Do nothing. After you have selected either the pressure cooker or the manual options, your instant pot will take over the work, so all you have to do is wait for the water to cook.
After three seconds of operating, you will notice that the cooker will beep three times, and the display will show “On.” It is an indication that the device is not on pressure yet and is heating up.
Eventually, after some time, you will hear a hissing noise. No need to freak out; instant pots make these wheezing noises to let out air at times. Once the hissing stops suddenly, you will notice that the pressure indicator will go up, and the cooker will beep three times.
This beep means that your instant pot is no longer heating up but now is on the pressure heat mode!
When 30 minutes is over, the pot will beep three times. After the beep, the readout will change to the “LO:00” option. Meaning, the instant pot will now switch to its “keep warm” mode. The valuable part of cookers like this one is that it switches to the warm mode automatically after the time is over.
That is it! These are the simple steps that will help you set up the timer of your cooker effortlessly.
Are you wondering how the timer of your cooking pot will become handy? Since instant pots are large, non-transparent, and their functions depend strictly on time, the pot’s timer will be of great help. Here are some benefits of using a timer on your instant pot.
Instant pots are energy-efficient kitchen appliances. The insulation of the inner chamber prevents excess energy exertion. The timer will allow you to control the cooking time. Unlike conventional pressure cooking methods, such timers prevent electric energy wastage.
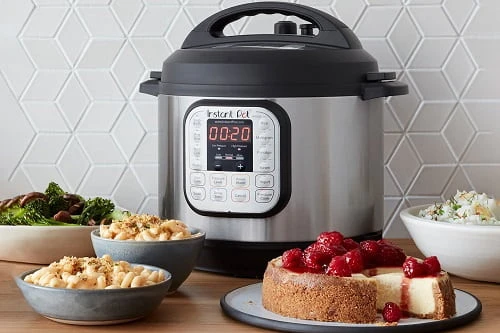
The most exciting feature of such timer is that they will automatically switch to the “keep warm” option as soon as the cooking time is over. This feature is particularly handy when you are busy doing other work. The automatic switch will prevent the machine from overcooking the food.
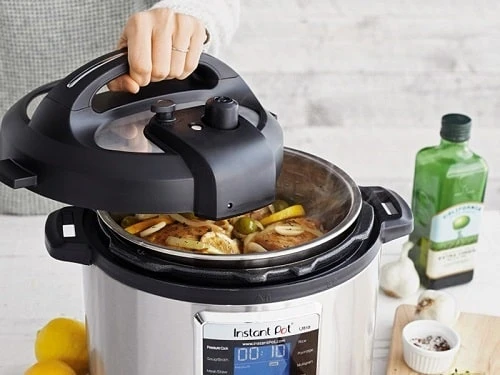
There you go! These are the basics that you need to know about using your instant pot’s timer. Although it is very easy to feel intimidated by all the buttons and knobs, I assure you that my how to set timer on instant pot guide will make the work much more manageable.
Additionally, you will not have to deal with pressure cookers anymore. Since we did a water test successfully, all that is left for you to do is start cooking delicious and mouth-watering dishes!

About Kimberly Hill
Now it is just me, Kimberly Hill living in New York city, N.Y.
Loves to blog about various aspects of life that matter most.
Received the BA degree in Art History from Stanford University of California.
 |
 |
 |
 |